It's about time I showed you all my daily makeup routine!
So without further ado, let's get started.


I start off by using my collection 'lasting perfection' in the shades '1- fair and 2-cool medium'. I apply the darker one to any blemishes or imperfections and i apply the lighter one under my eyes to conceal to those good old insomniac dark circles, I then blend using the Real Techniques 'Deluxe crease brush'.


Next is foundation, I apply some if my Rimmel 'stay matte' foundation in blobs all over my face and neck, then blend with a Real Techniques 'buffing brush' until I have even coverage, I then just dab over the foundation with the Real Techniques 'Miracle complexion sponge' to get rid of any lines that may have been created by the brush.


After the face I move on to my love hate eyebrows. I use the Soap And Glory 'Archery 2-in-1 brows' pencil and then set with gel. I don't like my eyebrows to look too false so after filling them in I brush through them with a Real Techniques 'lash and brow groomer' to tame the darkness a little bit.
Now the fun part! Eyes...


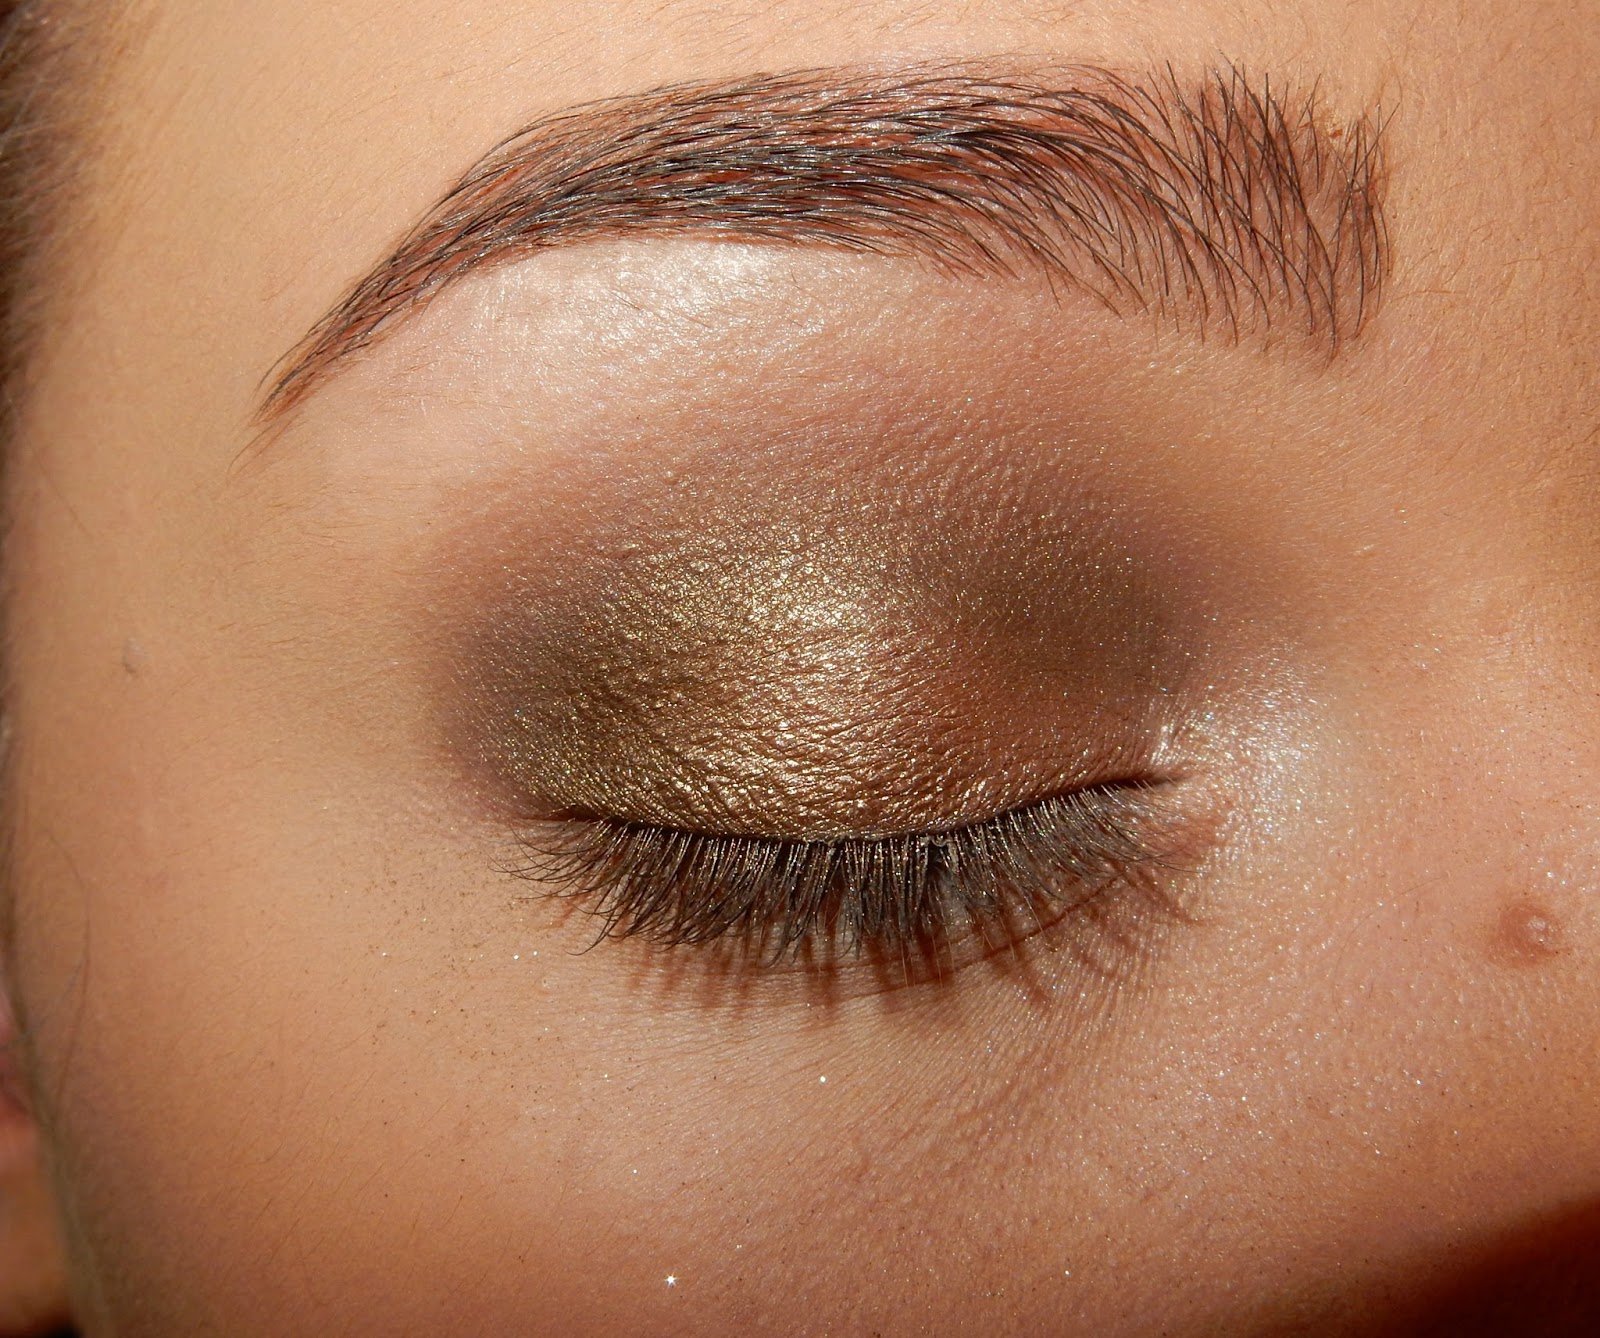

I start out with a lighter shade in the corners of my eyes and gradually get darker as I move along the eyelid, so , in the corner of my eyes I use the colour 'Sin' blending that into the shade 'Sidecar' right next to that goes 'Smog' and to finish off at the very outside of my eyelid goes the colour 'Dark horse'. I also apply 'Dark horse' to the crease and then I blend it all together. Then I apply 'Sin' again under the eyebrow to highlight.


Now the tricky part, the notorious winged liquid eyeliner. I use Soap And Glory 'Super Cat' liquid eyeliner, seriously if you love a winged eye but find it difficult, get your hands on this its so much easier and saves so much time! I apply a thin line starting at the inside corner slowly and steadily drawing a line across in small brush strokes until I reach the outside corner where i stop and then draw a line coming out of my eye, and then another line connecting the new line to the one you drew before creating a kind of triangle shape. Then just fill in the gap in the middle.
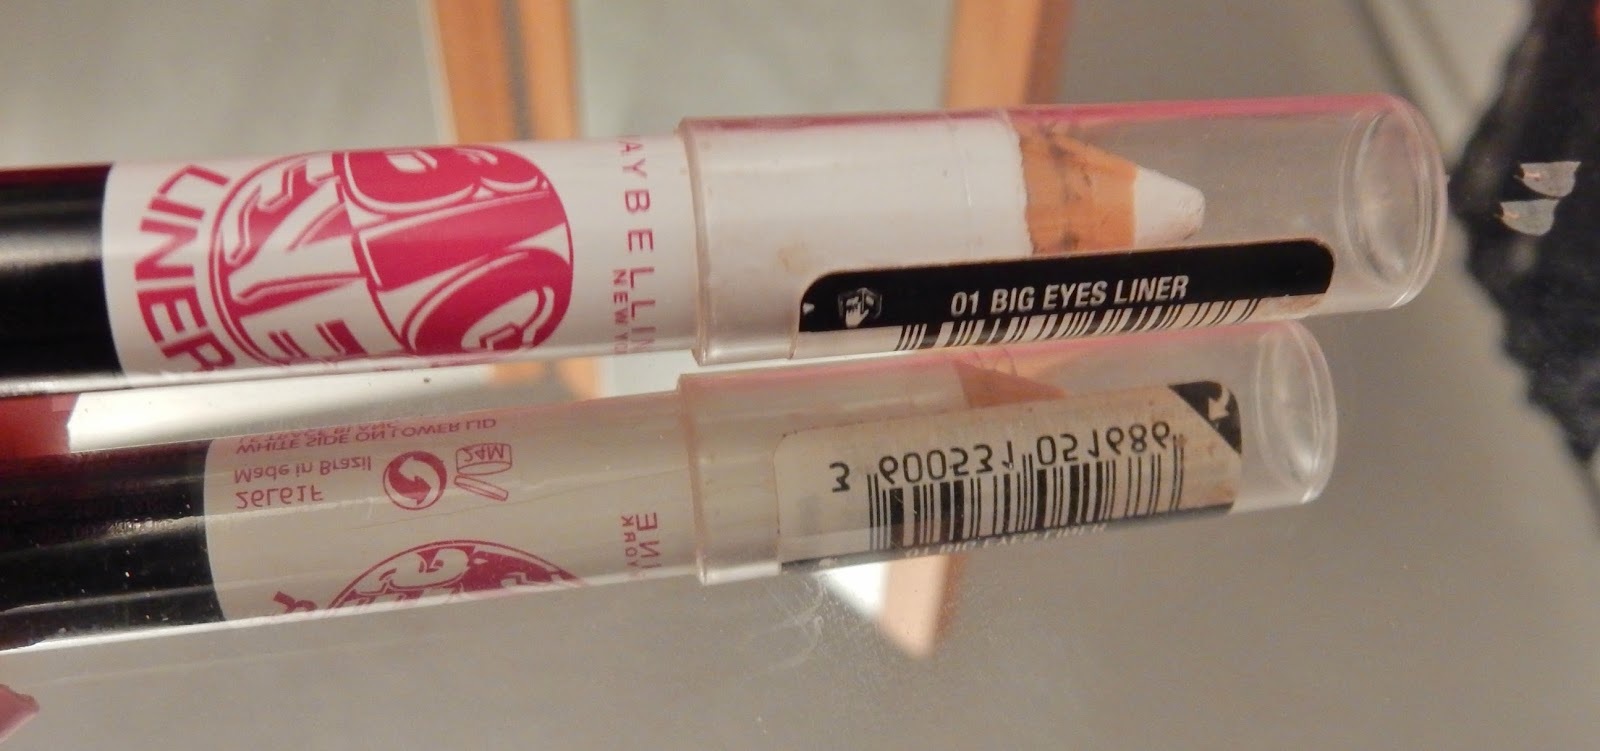

After that I apply the white side of my Maybelline 'Big Eyes' eyeliner to my bottom waterline. This will make your eyes appear bigger and more awake (another tip for all you insomniacs, you're welcome)


Once this is done it's time for mascara. But before I apply any mascara I curl my lashes with my bog standard eyelash curler that I've had for years. Now it's time for mascara, I use Urban Decays 'Subversion' eyelash primer first, I apply one coat and then straight after I apply my Urban Decay 'Perversion' mascara. Honestly this mascara makes your eyelashes look so long and thick its amazing!


Next it's time time for bronzer, blush and highlight. For some reason I forgot to take a photo of the products I used so sorry about that! so, first comes bronzer, I use MAC's 'wash and dry' bronzer which I apply under the cheekbones, the temples and around the forehead then blending in with Yep you guessed it a Real Techniques 'expert face brush'. I then apply NARS blush in the shade 'Super Orgasm' to the apples of my cheeks and the blend up into my temples using the Real Techniques 'Bold Metals' blush brush. After that I apply SEVENTEEN's highlighter just above where I applied the blush with a Real Techniques 'Duo fibre contour brush' to give my face a healthy glow.


Finally the lips! I start off by lining my lips with MAC's lip liner in the shade 'Edge to Edge' I always apply it just outside of my lips to give them a fuller look. Over the top I apply Tanya Burr Cosmetics lip gloss in the shade 'I Found Nemo' these lip glosses are amazing they are so pigmented and last for ages! By applying a lighter colour over the top of the lip liner it gives your lips a more 3D effect.
Finish off by dusting your face with setting powder and... you're done!
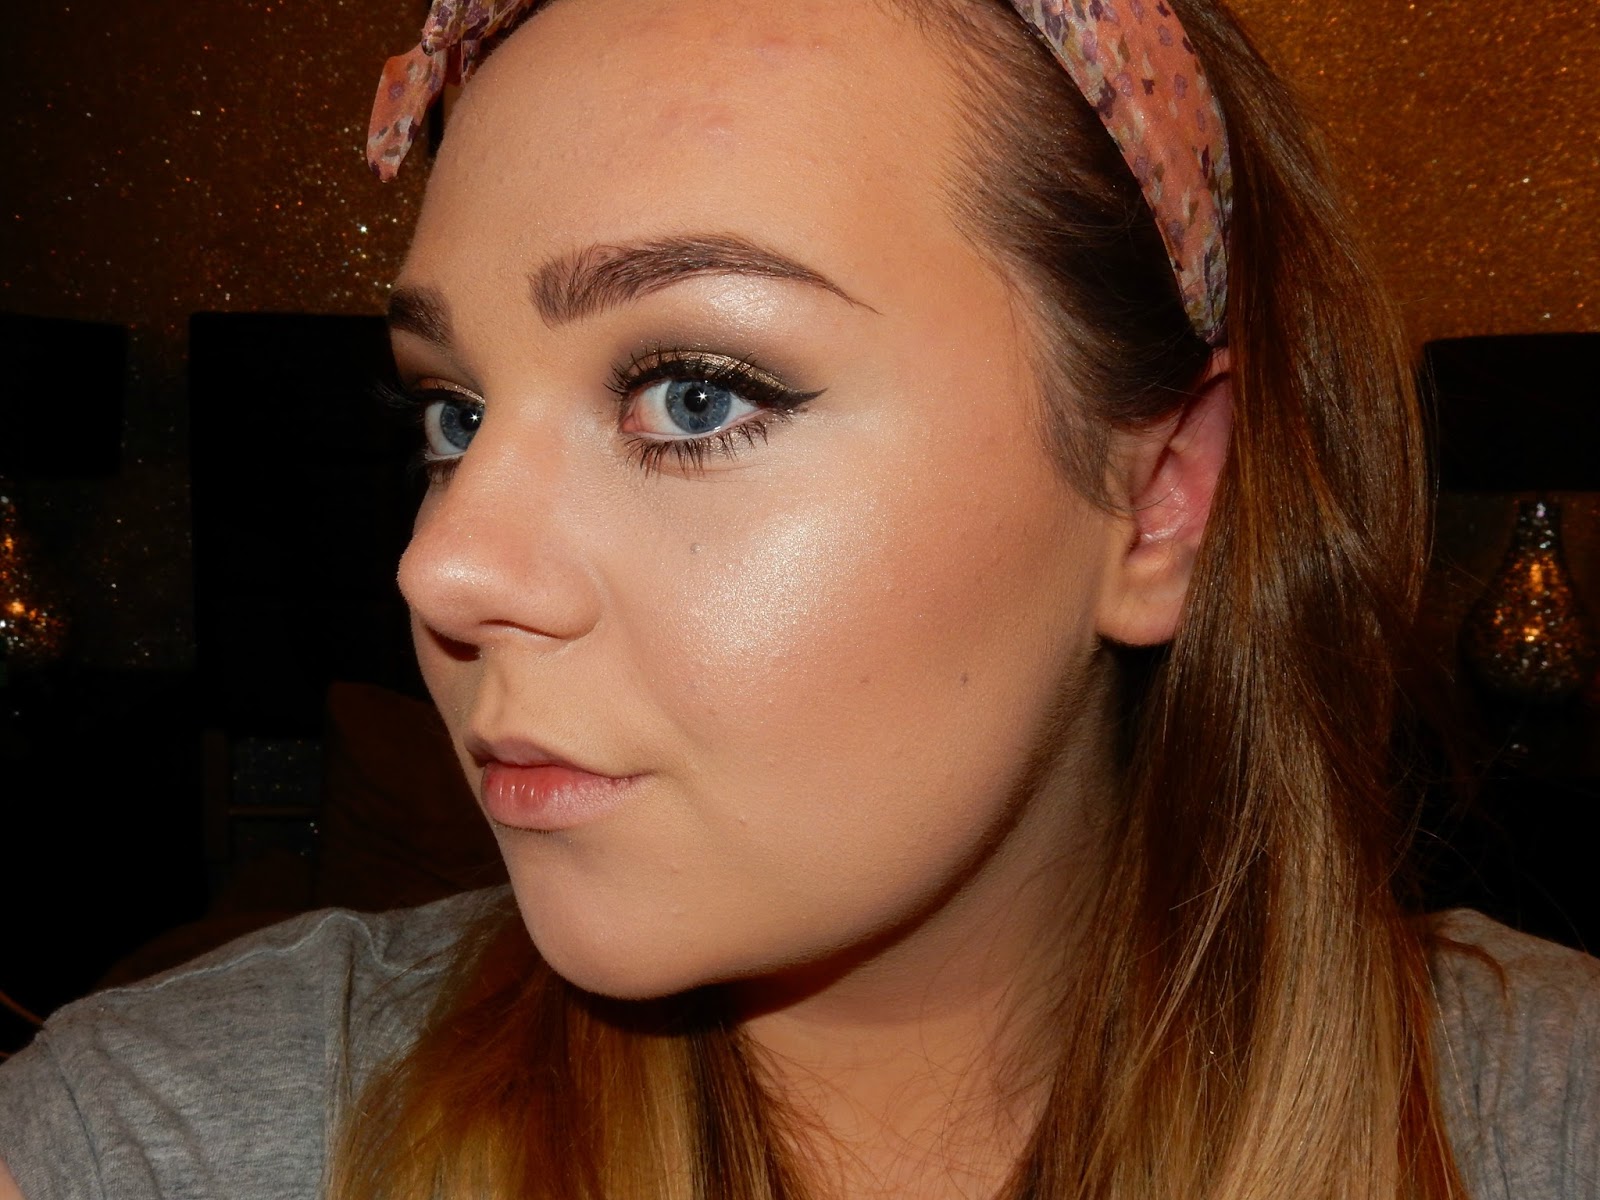
Here is a little before and after of the makeup ...


I hope you all enjoyed this type of blog post!
Feel free to leave a comment below!
Thank You so much for reading :)<3
No comments:
Post a Comment