Showing posts with label howto. Show all posts

Wednesday, 31 August 2016

Life Hacks!


Hello Everybody!
Today I have bit of a different post for you, it is my 15 favourite life hacks so... starting with number...

1) When you want to cross a word out but don't want the crossed out word to be visible, instead of scribbling it out, write random words and letters over the top of it. It will disguise it much better than a scribble.


2) If you want to eat a cupcake but don't want the embarrassing mess of frosting all over your face, simply just cut it horizontally through the middle and flip the top half upside down to make a cake sandwich with the frosting in between both pieces of sponge.

3)Poke a paper cake cup that you would use for baking with the stick of your favourite ice lolly to catch any drips of melted ice lolly so that you can have the joy of eating a lolly without the annoying sticky fingers.

4) Instead of burning yourself trying to light your favourite half burned candle, simply light the end of a piece of spaghetti so that you essentially have an extra long match.

5) Instead of getting a painful dead arm from holding your phone whilst watching a video, rest it on a pair of sunglasses.


6)If you have to use a public toilet make sure you use the cubicle closest to the door, it is the least used cubicle and therefore the cleanest. you're welcome.

7)If you are craving chicken nuggets but are trying to be healthy, dip some cauliflower in barbecue sauce, it tastes just like chicken nuggets but is much healthier for you.

8)Drink green tea before going to bed, it will increase your metabolism and burn more calories while you sleep.

9)Head and Shoulders shampoo can be used to get rid of acne but make sure you keep it well away from your eyes because if you get any of this shampoo in them it will burn like a mofo. I had to learn this the hard way!

10)Put your phone in an empty cup to amplify the volume (obv don't be an idiot like me, make sure your phone actually fits in the cup lol).


11)When you have finished an essay, copy and paste it into google translate and  let it read your essay back to you. Doing this will help you find and mistakes, I used to do this all the time when I was doing work for my GCSE's.

12)If you want somebody to stop texting you for good text them this- SMS SERVICE ERROR 305:MESSAGE FAILED TO SEND. FURTHER MESSAGES WILL BE CHARGED TO YOUR ACCOUNT. (Again you're welcome lol).

13)Sticking your fingers in your ears for a few seconds is an instant cure for the hiccups.

14) Use a straw to remove the stem from strawberries.

15)If you're feeling too hot, run your wrists under the cold water tap for 5 minutes. This will cool your blood down.


And that's all of my life hacks for today, let me know in the comments if you knew any of these also if you have tried any and give your opinions!! Thank you so much for reading :) <3


Sunday, 7 February 2016

How I Take Care Of My Eyebrows

Hello everyone!

Eyebrows frame your face and can completely change how you look so it is very important to keep them in tact! So today I'm showing you how I maintain my eyebrows. I have always done my eyebrows myself. I taught myself how to do them many moons ago, however if your just starting to shape or re shape your eyebrows I suggest that you should consider getting them done by a professional just for the first time so that you can get the right shape for your face shape without all of the embarrassing eyebrow malfunctions, unfortunately I had to learn this the hard way and have been at the brunt of many an eyebrow disaster but I think I have now finally found a shape that I am happy with. So this is how I do my eyebrows.   


You Will Need:

  • Tweezers
  • Nail Scissors
  • Spoolie
  • Vaseline/ Petroleum Jelly
  • Cotton Wool
  • Make Up Remover
  • Baby Wipes
  • Eyebrow Tint Kit
  • A close up mirror


Step 1 :
Soak your cotton wool with makeup remover. I'm using Pixi Glow Tonic, which I know isn't a make up remover but it does the job. Use the soaked cotton wool to remove any makeup on or around your eyebrow so that you are working on a clean surface and can see exactly what hairs you need to remove.


Step 2:
Take your tweezers and pluck out any hairs that are on the outside of your eyebrow until they are all gone and your eyebrow area looks smooth and tidy.


Step 3:
You will now need to take your spoolie and comb your eyebrow hairs upward and trim any hairs that stick up over the bold shape of your eyebrow with your nail scissors so that your eyebrows look neat and not wild with hairs sticking out everywhere, this will also make your eyebrow look bolder. Then go in with your tweezers again and remove any hairs that look out of place after trimming.


Step 4:
Apply some Vaseline around your eyebrow, making sure not to get any on the eyebrow itself. This is so that the tint doesn't darken any skin or hairs around the eyebrows. 


Step 5:
To tint my eyebrows I use 'Eyelure Pro-Brow dybrow' Kit in the shade 'brown'.
I take the colour and squeeze 2 cm of the product into the little plastic case it comes in and stir that into 5 drops of the activator.


Step 6:
Take the spoolie that comes with the kit and generously scoop some colour onto the bristles, neatly distribute the product through the eyebrows by just combing the spoolie through the hairs.


Step 7:
Take a baby wipe and neatly wipe off any excess product just to make sure that none of your skin gets coloured making sure not to remove any product from the eyebrow itself. Leave this colour to develop for 15 Min's ( it doesn't advise you to leave it this long in the instructions but i find that the time they said to use didn't make much of a difference to my natural colour.) develop time will vary from person to person so you may have to play around with the timings until you find a colour you're happy with.


Step 8:
Once the 15 minutes is up, remove all of the product with a baby wipe and then thoroughly wash them with soap and water to ensure all of the colour is properly removed.

Step 9:
Finish up by moisturising the eyebrow area to soothe any inflammation.

And that's it you're all done and you can enjoy your stunning eyebrows.

Thank You so much for reading. I hope you enjoyed or learnt something from this post (or both haha) feel free to leave a comment below :) <3


Sunday, 17 January 2016

My everyday Make Up Routine

Hello Everyone!

It's about time I showed you all my daily makeup routine!

So without further ado, let's get started.


 I start off by using my collection 'lasting perfection' in the shades '1- fair and 2-cool medium'. I apply the darker one to any blemishes or imperfections and i apply the lighter one under my eyes to conceal to those good old insomniac dark circles, I then blend using the Real Techniques 'Deluxe crease brush'.


 Next is foundation, I apply some if my Rimmel 'stay matte' foundation in blobs all over my face and neck, then blend with a Real Techniques 'buffing brush' until I have even coverage, I then just dab over the foundation with the Real Techniques 'Miracle complexion sponge' to get rid of any lines that may have been created by the brush.


 After the face I move on to my love hate eyebrows. I use the Soap And Glory 'Archery 2-in-1 brows' pencil and then set with gel. I don't like my eyebrows to look too false so after filling them in I brush through them with a Real Techniques 'lash and brow groomer' to tame the darkness a little bit.

Now the fun part! Eyes...


I apply Make Up Academy 'pro base primer' to my eyelids and then whip out my NAKED pallet.


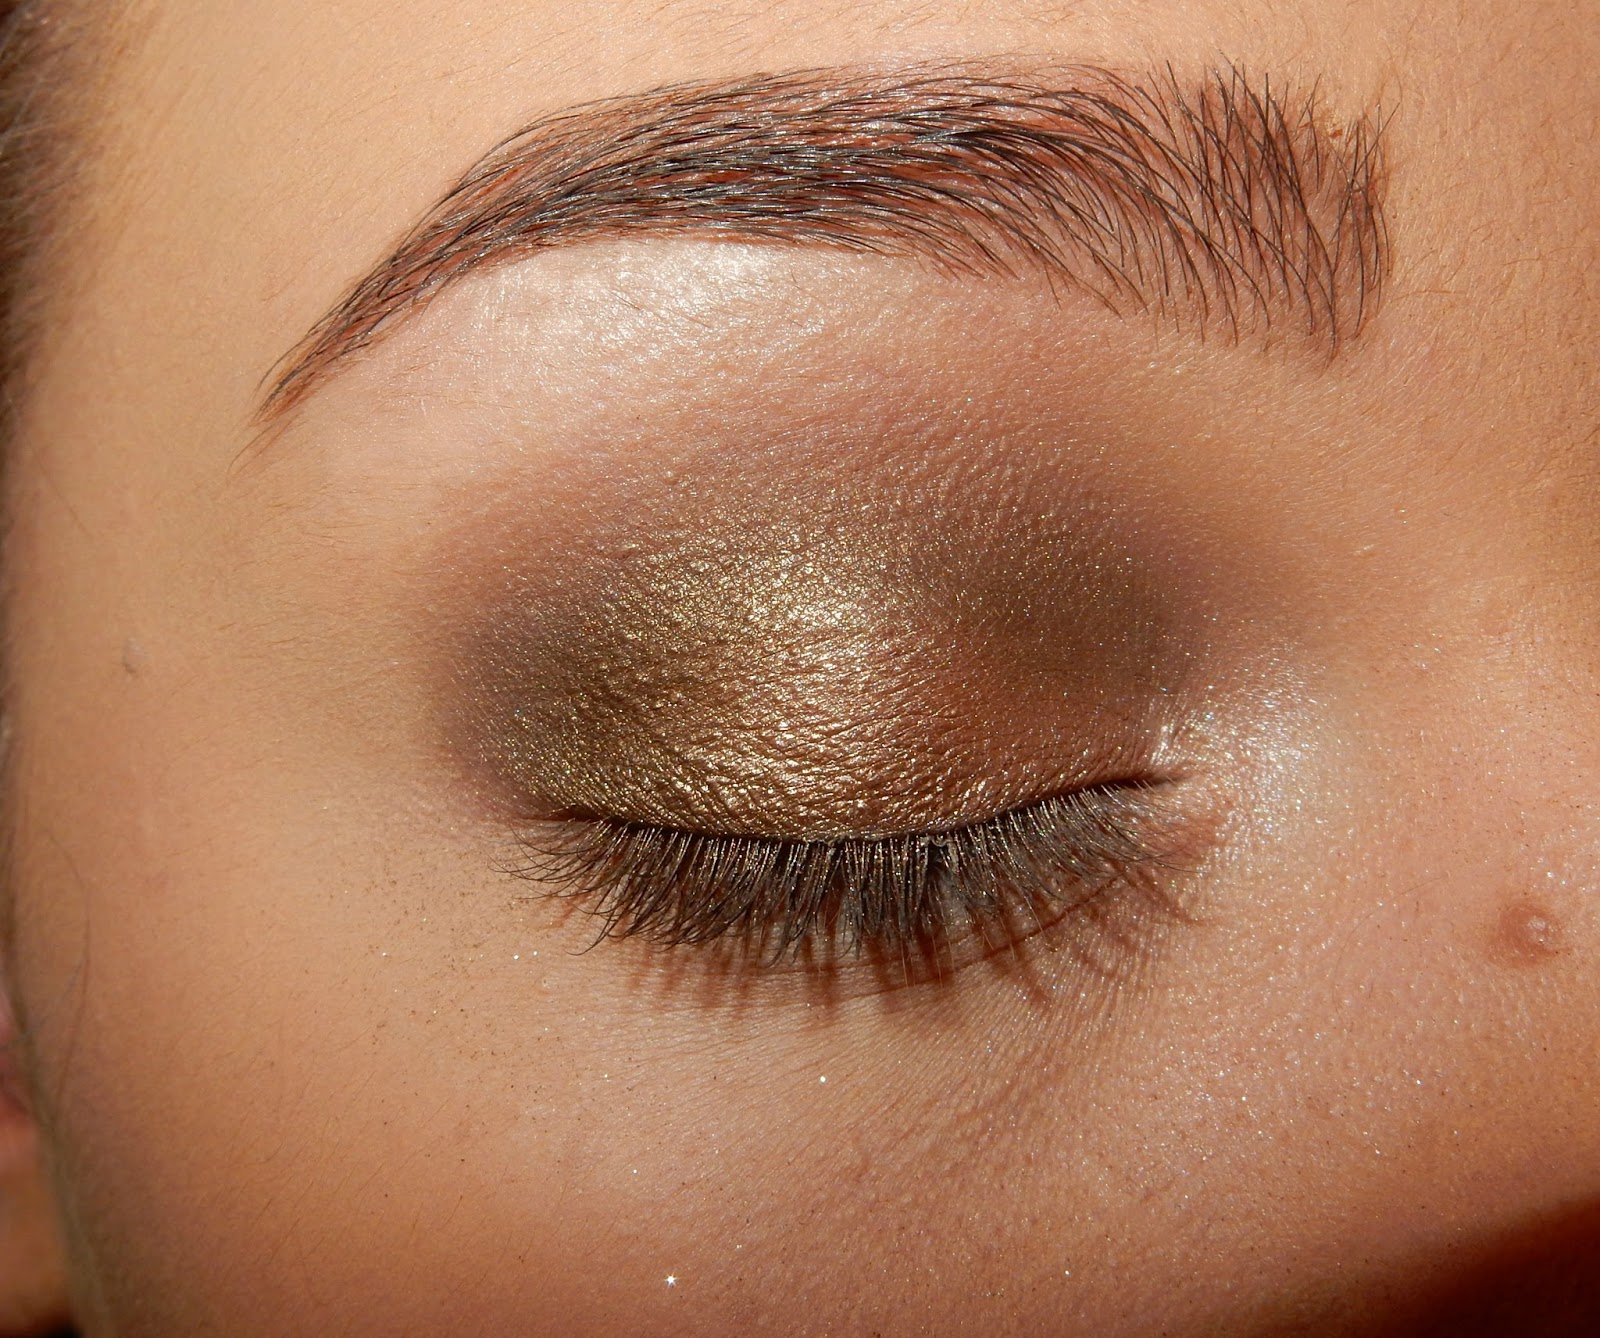
I start out with a lighter shade in the corners of my eyes and gradually get darker as I move along the eyelid, so , in the corner of my eyes I use the colour 'Sin' blending that into the shade 'Sidecar' right next to that goes 'Smog' and to finish off at the very outside of my eyelid goes the colour 'Dark horse'. I also apply 'Dark horse' to the crease and then I blend it all together. Then I apply 'Sin' again under the eyebrow to highlight.


 Next I take a spongey brush ( I don't know the technical name for it lol) and I take some 'Dark horse' and smudge/blend under the water line to give more of a smokey effect.


Now the tricky part, the notorious winged liquid eyeliner. I use Soap And Glory 'Super Cat' liquid eyeliner, seriously if you love a winged eye but find it difficult, get your hands on this its so much easier and saves so much time! I apply a thin line starting at the inside corner slowly and steadily drawing a line across in small brush strokes until I reach the outside corner where i stop and then draw a line coming out of my eye, and then another line connecting the new line to the one you drew before creating a kind of triangle shape. Then just fill in the gap in the middle.


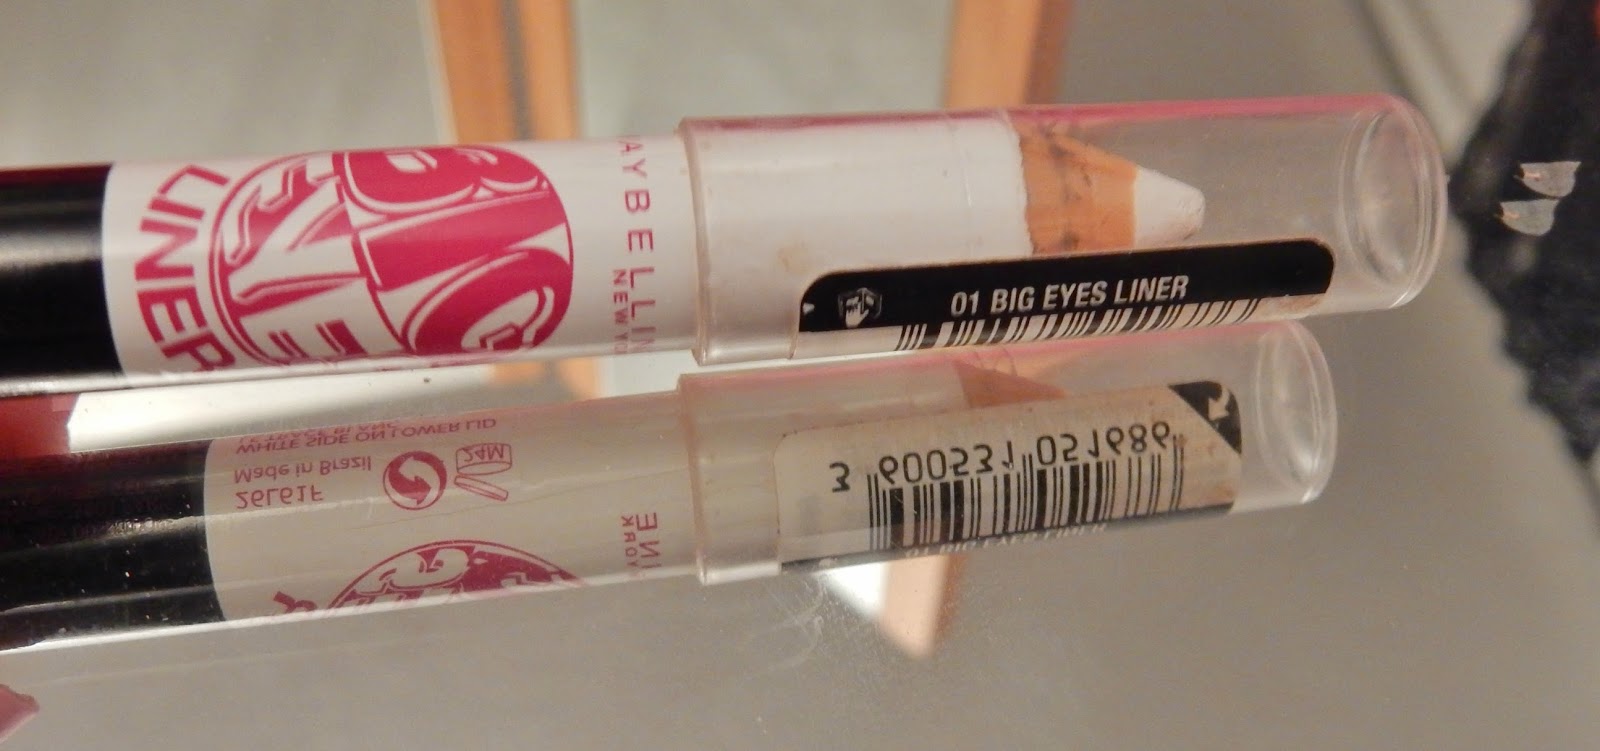
  After that I apply the white side of my Maybelline 'Big Eyes' eyeliner to my bottom waterline. This will make your eyes appear bigger and more awake (another tip for all you insomniacs, you're welcome)


 Once this is done it's time for mascara. But before I apply any mascara I curl my lashes with my bog standard eyelash curler that I've had for years. Now it's time for mascara, I use Urban Decays 'Subversion' eyelash primer first, I apply one coat and then straight after I apply my Urban Decay 'Perversion' mascara. Honestly this mascara makes your eyelashes look so long and thick its amazing!


Next it's time time for bronzer, blush and highlight. For some reason I forgot to take a photo of the products I used so sorry about that! so, first comes bronzer, I use MAC's 'wash and dry' bronzer which I apply under the cheekbones, the temples and around the forehead then blending in with Yep you guessed it a Real Techniques 'expert face brush'. I then apply NARS blush in the shade 'Super Orgasm' to the apples of my cheeks and the blend up into my temples using the Real Techniques 'Bold Metals' blush brush. After that I apply SEVENTEEN's highlighter just above where I applied the blush with a Real Techniques 'Duo fibre contour brush' to give my face a healthy glow.


Finally the lips! I start off by lining my lips with MAC's lip liner in the shade 'Edge to Edge' I always apply it just outside of my lips to give them a fuller look. Over the top I apply Tanya Burr Cosmetics lip gloss in the shade 'I Found Nemo' these lip glosses are amazing they are so pigmented and last for ages! By applying a lighter colour over the top of the lip liner it gives your lips a more 3D effect. 

Finish off by dusting your face with setting powder and... you're done!

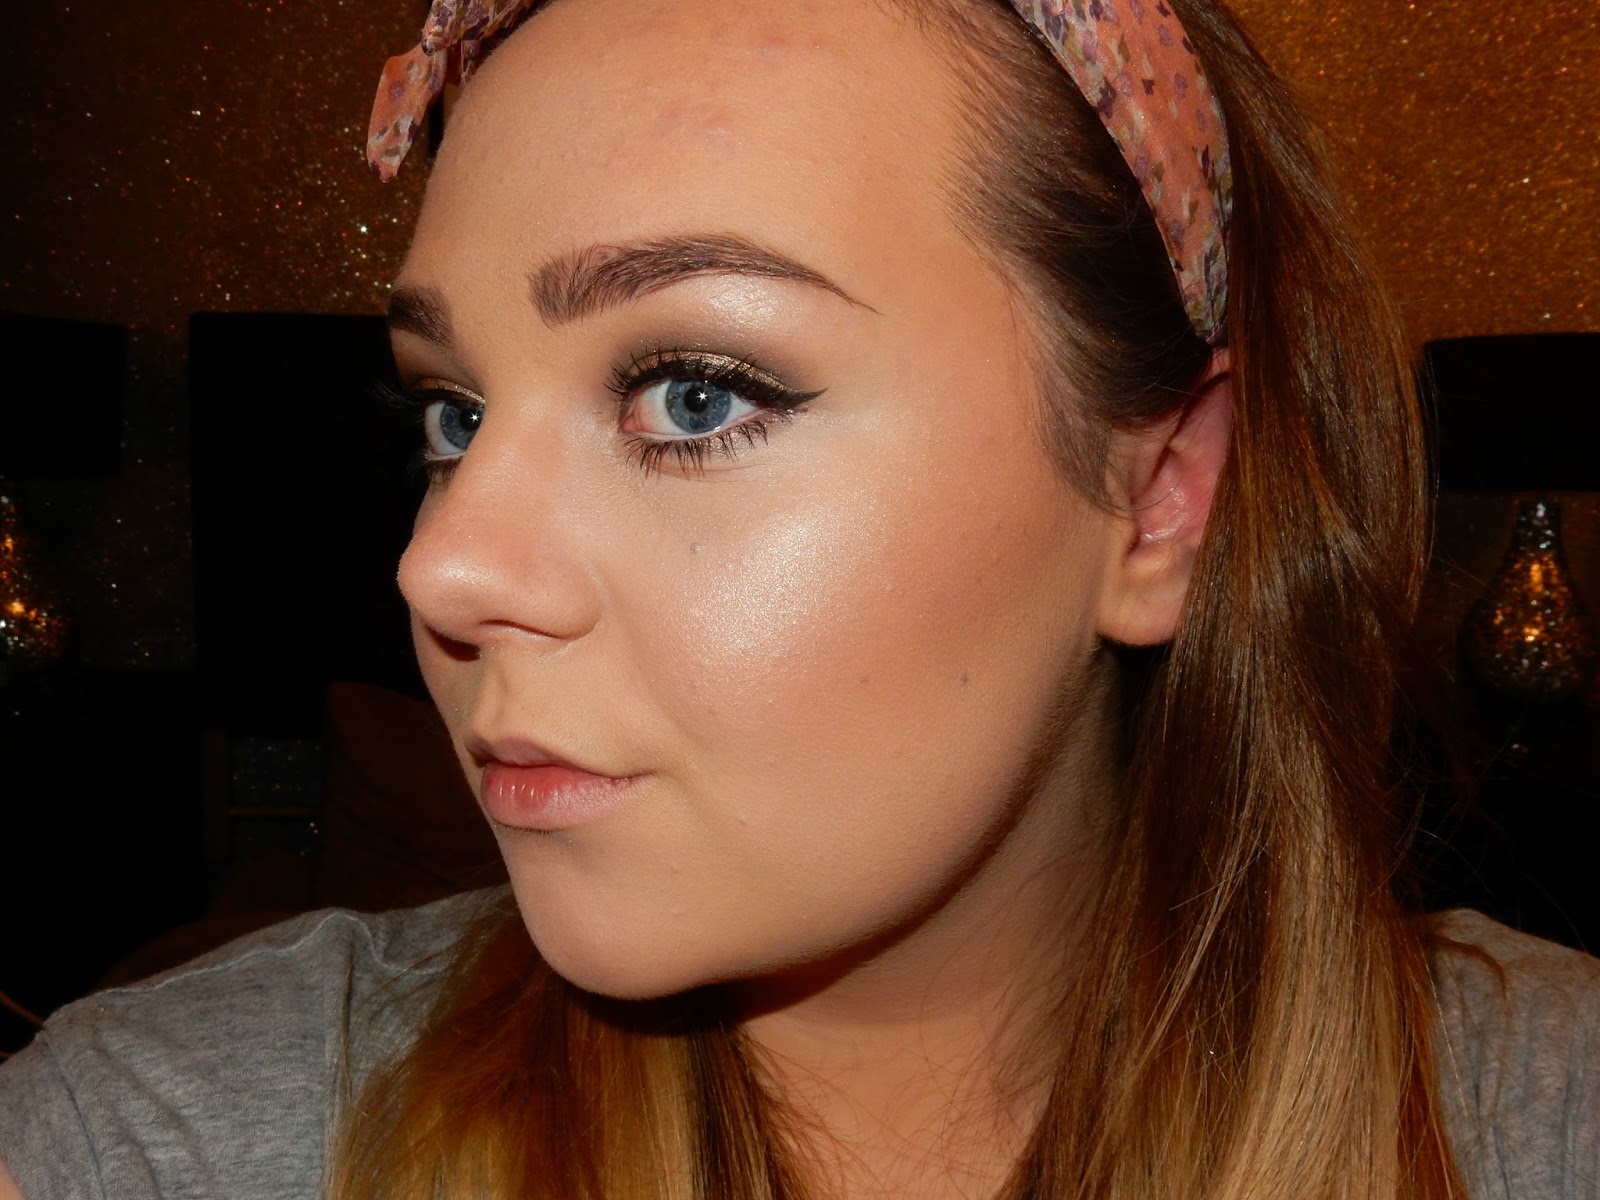
Here is a little before and after of the makeup ...


I hope you all enjoyed this type of blog post! 
Feel free to leave a comment below!
Thank You so much for reading :)<3