Showing posts with label Kylie Jenner. Show all posts

Sunday, 13 November 2016

Autumnal makeup look!

Hello Everybody!

Today I am going to be showing you my favourite autumnal makeup look.
I think autumn makeup is my favourite because i just love the warm and berry colours.
so lets get to it!


Step 1
Apply your favourite concealer to any ares you think may need it, I like to apply mine under the eyes and on any red spots i may have, i then blend with a make up sponge.


Step 2
Now apply your favourite foundation, I am using the Rimmel Stay Matte foundation because it lasts all day and it has a matte finish so you don't need to powder throughout the day
because it also never goes shiny!


Step 3
Next is eyebrows, for this i am using the Kylie Jenner eyeliner brush because i love how precise it is for my eyebrows, i am also using the smashbox full exposure pallet and i am using the matte brown shade just because its a perfect colour for my skin tone and doesn't look too dark, although for this look you are going to want your eyebrows to look fairly bold to match the bold lips.


Step 4
Now add some brow gel to hold your brows in place, this also makes the hairs look more defined as you can see in the photo my right eyebrow has the gel and my left doesn't and you can really tell the difference, i am using the soap and glory brow gel.


Step 5
I am going to do a rose gold eye look so to achieve this i am going to be using the Kylie Jenner eyeshadow in the colour rose gold and i am just applying these to the lid using a flat eyeshadow brush.


In the crease i am using the clinique strawberry fudge duo but only the brown shade, apply a small amount on a fluffy eye brush and blend through the crease, then take a smaller fluffy brush and the the same colour under the bottom waterline and that's it for the eyeshadow! so easy.


Step 6:
Take an eyelash curler and curl your lashes, then apply a few thick coasts of mascara, you can use false eyelashes to if you want but i didn't just because i don't want my eyes to look really bold, which is also the reason i haven't applied liquid liner.

Step 7
Apply bronzer under your cheek bones, on your temples and the sides of your forehead to give your skin a glowey bronzed look, this will also make your face appear more chiseled and defined.


Step 8
Now apply a rose gold blusher to your cheeks, this will really help the rose gold on your eyes pop! this blush i am using is by sleek in the shade rose gold.


Step 9 
Apply some high light to your cheeks again in a pink colour, i am using the urban decay highlight i the shade fire ball. I used flash in this picture so you could see just how pretty this highlight is in the light.


Step 10
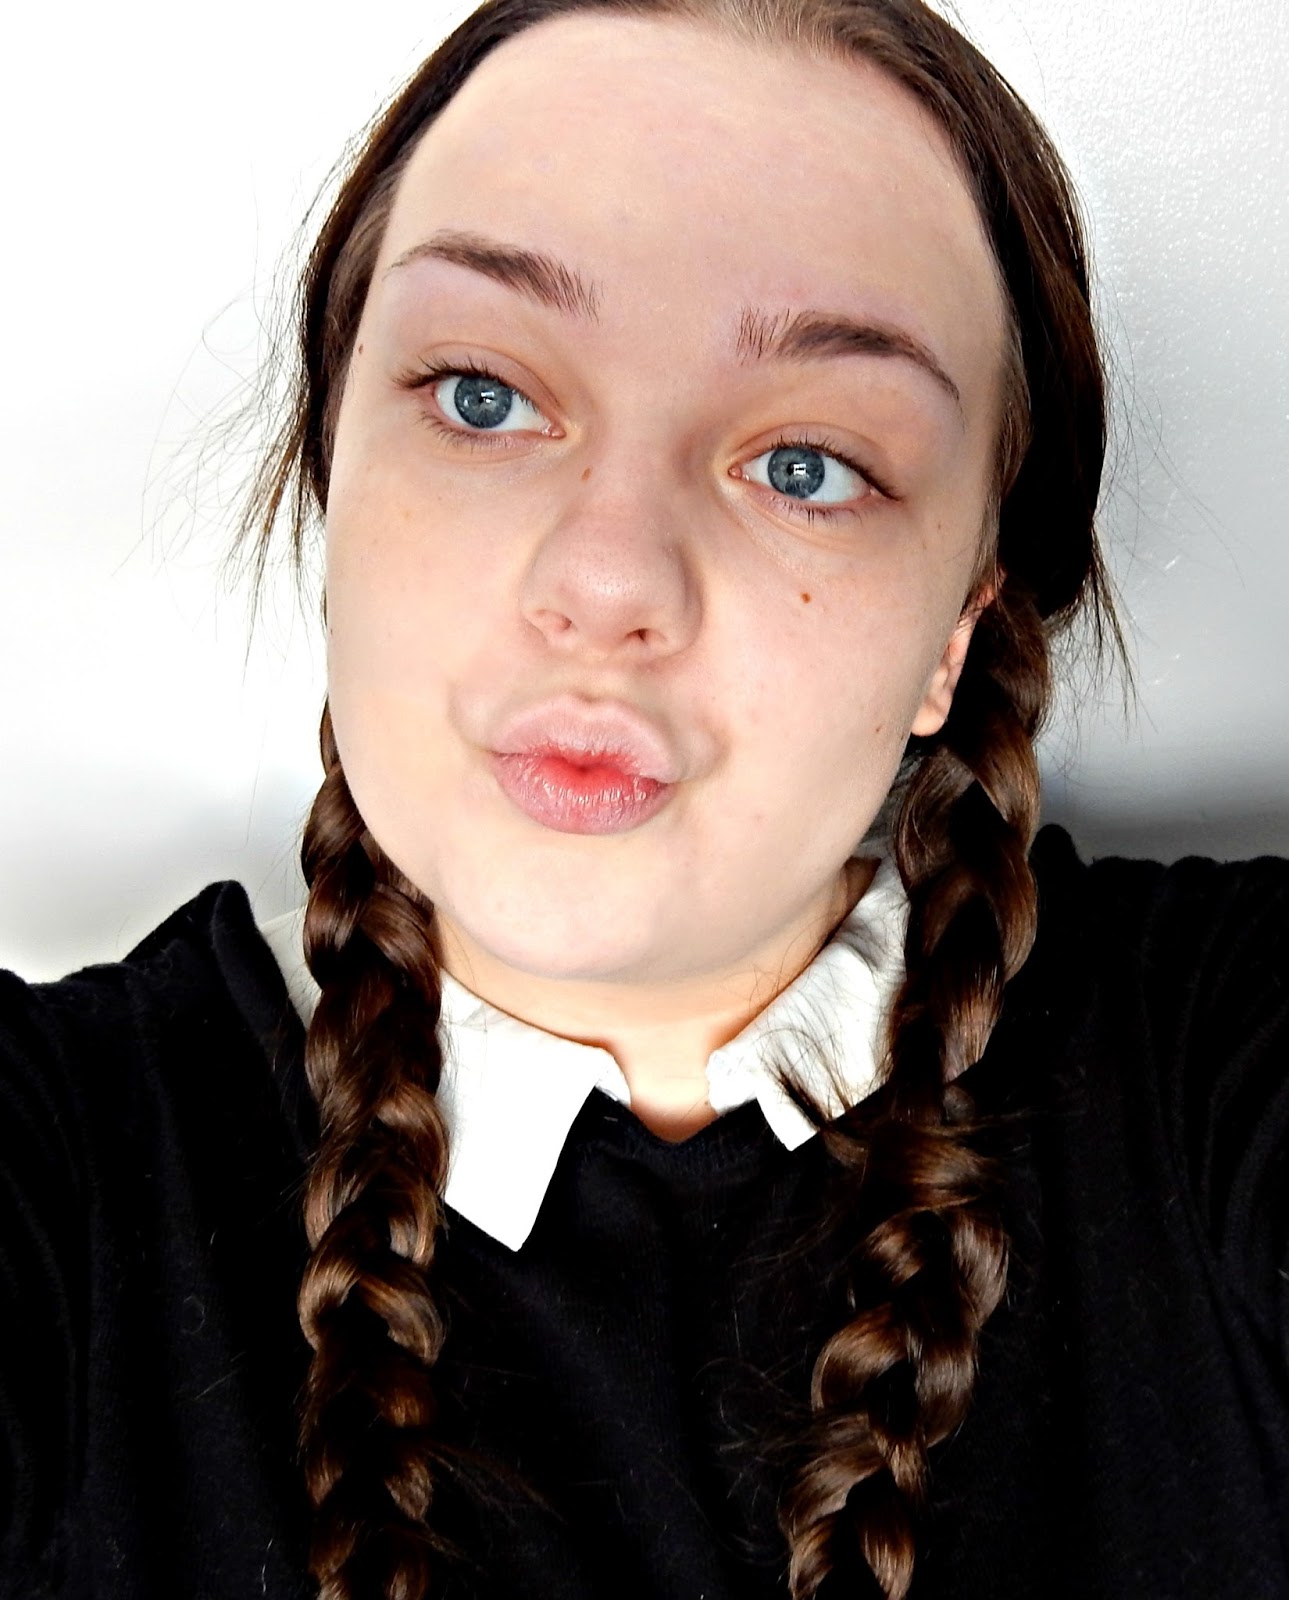
Apply a dark berry lipstick, i am using the mac Selena range in the shade dreaming of you.


And that's it you're done!! i hope you enjoyed this blog post! feel free to leave a comment below! thank you so much for reading! :) <3

Sunday, 16 October 2016

Wednesday Addams halloween make up look!

Hello Everybody!
So seeing as Halloween is just around the corner I thought it would be fun to do a few Halloween looks to prepare you all for the big day! This week I will be showing you step by step how I achieved this Wednesday Addams makeup look, so lets get to it!

Step 1:


First of all you are going to want to start with a very heavy coverage concealer to cover any blemishes because if you look at Wednesdays face she have perfect skin, however you do not want to apply any concealer under the eyes because you want to keep the natural darkness to help with the look later on. I used Urban Decays NAKED skin in the shade fair and applied with the real techniques miracle complexion sponge.


Step 2:


Next is foundation, you are going to want a really pale heavy duty foundation but I don't have one of these so I mixed together Jeffree star's Drug Lord with any old foundation I found in my drawer, you will want to use a lot of the white and only a tiny blob of foundation in order to achieve a very pale look, mix these two together and apply with a clean dry miracle complexion sponge  This liquid lipstick is perfect to use for this look because it is so pigmented that it coats skin evenly and will no move anywhere, once it is dry its there to stay, unlike face paint where it can sometimes apply patchy and rub off throughout the night.

Step 3:


After the face is eyebrows. Use whichever product you would normally use to fill and shape your brows but as you can see the white background you just applied makes the product look a lot warmer so I went over it very lightly with a matte black eyeshadow.


As you can see it makes the eyebrow look much bolder and thicker, this will also help you face to look paler. Then set your eyebrows in place with an eyebrow gel.


Step 4:


On the eyes I'm using the Makeup Revolution Fortune Favours The Brave pallet. I am using the shade soft on the lid, Drama Queen on the outer lid and the socket and The revolution on the inside of my eye to give a dead bruised effect, then I blend them together.


Then I used the shade Latte in the outer edge of the top of my nose to make my eyes look sunken in .


Then take a grey eyeshadow, I am using the Alice in Wonderland Urban Decay pallet in the shade mirror. Using a small fluffy brush blend some of the grey eyeshadow underneath the inner corner of your eye for a grey dead ashy look.


Then using the same colour lightly apply some to your brow bone to add a frosty shimmery hi light. Do the same in the inner corners as well.


I then too a white eyeliner and applied a thick coat to my water line to make my eyes look bigger and more open and the applied black eyeliner to the bottom lash line, don't take the black eyeliner all the way as we want the eyes to look open.


To blend the line of the harsh black eyeliner I used this spongey thing (I have no idea what they are called lol) just to smoke out the eyeliner.

Step 5:


After this you want to apply some liquid eyeliner because we are going to be applying false eyelashes. I am using soap and glory's super cat liquid eyeliner. You should apply the eyeliner so that the middle of the eye has a thicker line the both outside corners to make the eyes appear more rounded.

step 6:


Now its time for the falseys, I am using number 2 mac eyelashes. clasp the lashes near the roots with tweezers and apply a thin coat of glue ensuring to apply more on both edges to reduce the chance of them lifting, wait until the glue is tacky and apply above the lash line over the liquid eyeliner, position them   where you are happy and push onto the skin until they are stuck.

step 7:

 Then apply some mascara to the bottom lashes. I am music Benefits roller lash.

step 8:


After you have completed the eyes, take any matte black eyeshadow and contour under the cheekbones to create a hollow dead grey look.


Now we want to add some frostiness to the face so I am applying a small amount of highlight using a fan brush just above the cheek bone.

Step 9:


Finally you want to add some black lipstick, I am using the Klyie Cosmetics liquid lipstick in the shade kymajesty. I would defiantly recommend applying a lip liner or maybe an eyeliner around the edge of your lips because as you can see mine didn't look as bold and harsh as I would have liked.

So now were all done, now you can rock Halloween with your chilling Wednesday Addams look if you tried this look yourself let me know how it went in the comments and feel free to share it would be much appreciated. :) <3