Showing posts with label spooky. Show all posts

Thursday, 20 October 2016

Halloween Vanilla Cupcakes!


Hello Everyone!
So following the Halloween theme I thought I would do something a little bit different and show you how to make some fun little Halloween cupcakes, they look really cute and they taste amazing if I do say so myself. So lets get to it!


You will need:
250g Butter
250g Caster Sugar
1 tsp Vanilla Extract
250g Self Raising Flour
4 Medium Eggs
1 and 1/2 Tubs Betty Crocker vanilla Frosting
1 Small Pack of Ready to Roll Icing
orange Food Colouring
Green Food Colouring
Red Decorating Gel
Edible Glitter Green and Black
Cupcake Cases
Cupcake tin

Pre heat the oven to 200 degrees Celsius. This mixture will make about 26 cupcakes depending on how much mixture you put in the cases.

Step 1:


Into a mixing bowl, pour in your butter, vanilla extract and caster sugar. Whisk these together until your mixture is pale and fluffy.

Step 2:


Crack in one egg and whisk until fully combined, then repeat this until all of your eggs have been added, the reason you want to do this one at a time rather than all at once is because your mixture will curdle due to their being too much liquid in your bowl but if that does happen don't worry, it should get solved once the flour has been added.

Step 3:


Sift in half of your flower and fold into your mixture using a spoon, this is done so that you keep all the air you have just created by whisking is still kept in the mixture. Once the fist half is fully blended add the next half and repeat until the mixture is thick and creamy.

Step 4:


Using a tablespoon generously but evenly scoop the mixture into you cupcake cases, the reason these cases are different to the ones in the picture above is because I lost half of my photos so I had to repeat some of the steps and I had run out of the silver ones, hence the flowery cases. Then put these into your ore heated oven and bake for 15 mins.

Step 5:

Once they are ready to some out of the oven, check that they are properly cooked by sticking a knife into the centre, if there is no mixture on the knife when you pull it out then they are ready for the next step, however if there is still some uncooked mixture on your knife then stick them back in the oven for a couple more minutes and check them again.


Step 6:


Once your cakes have fully cooled, its time for the icing. You don't have to ice your cakes the same way I have you can just do it with a spoon or knife etc but I think that piped frosting looks so pretty, so I'm using an open star nozzle. When you are putting your frosting into your piping bag remember to fold the top of the bag over to prevent the icing from spilling up the sides and making a massive mess. Then twist the top of the bag to push all of the access air out and then your ready to pipe. So start at the outside of the cake and draw a circle around the edge of your cupcake gradually bringing it to the middle, then pull upwards to create the peak.

Step 7: 


This was when I made the pumpkins for the top of the cupcakes but unfortunately I lost the pictures of me making them so I will just have to try my best to explain how I did them. So starting with the orange part of the pumpkin take a large ball of your ready to roll icing and add your orange food colouring and kneed until the colour is evenly distributed, the take a small ball and rub around your hands to make a ball shape, then take the back of a butter knife and press down into the icing vertically and roll town to the bottom to make a line in the pumpkin. Then take a small ball of plain icing and apply your green food colouring and again kneed until fully distributed. Then roll between your fingers to make a point, then cut of with a knife and stick to the pumpkin using a little bit of water, then just for a bit if added effect I took some sparkly decorating gel and squeezed around then stem to make it look like drips of blood but that part is totally optional.


Step 8:


I bought some edible glitter from hobby craft in the colours black and green, so i sprinkled this over the icing just to add a bit of sparkle which looked so fricken pretty!

Step 9:


Lastly you just want to plonk your beautiful pumpkin creation on top of the frosting and then your all done!

Congratulations you can now make irresistibly cute Halloween cupcakes! I hop you enjoyed this blog post! Let me know in the comments how it went if you tried this yourself i would love to know! feel free to share with your friends and i will see you in the next post :)<3

P.S I have recently created a twitter page if you want updates on my blog posts etc, you can follow me if you like! my user name is @jadeloves963.


Sunday, 9 October 2016

Halloween Decorations Haul!


Hello Everybody!

Today I'm going to be showing you what spookstacular Halloween decorations I recently purchased, however I couldn't get all of the decorations I was hoping to get so I'm not 100% happy with how it all looks but that's okay. All of the decorations you will see in this video are from Asda, Poundland and Wilko.
So lets get started mwahaha!

I love sugar skulls so a lot of these decorations are sugar skull related, this wreath is from Asda and I think its so beautiful, it has black plastic strands all around it with felt flowers and a felt skull and it looks so pretty on the door.


This little decoration I have stuck to the door underneath the wreath its a skeleton that has been printed on a kind of chalk board material slab and it has very pretty bright sugar skull/ day of the dead detailing on it. This one is from poundland.


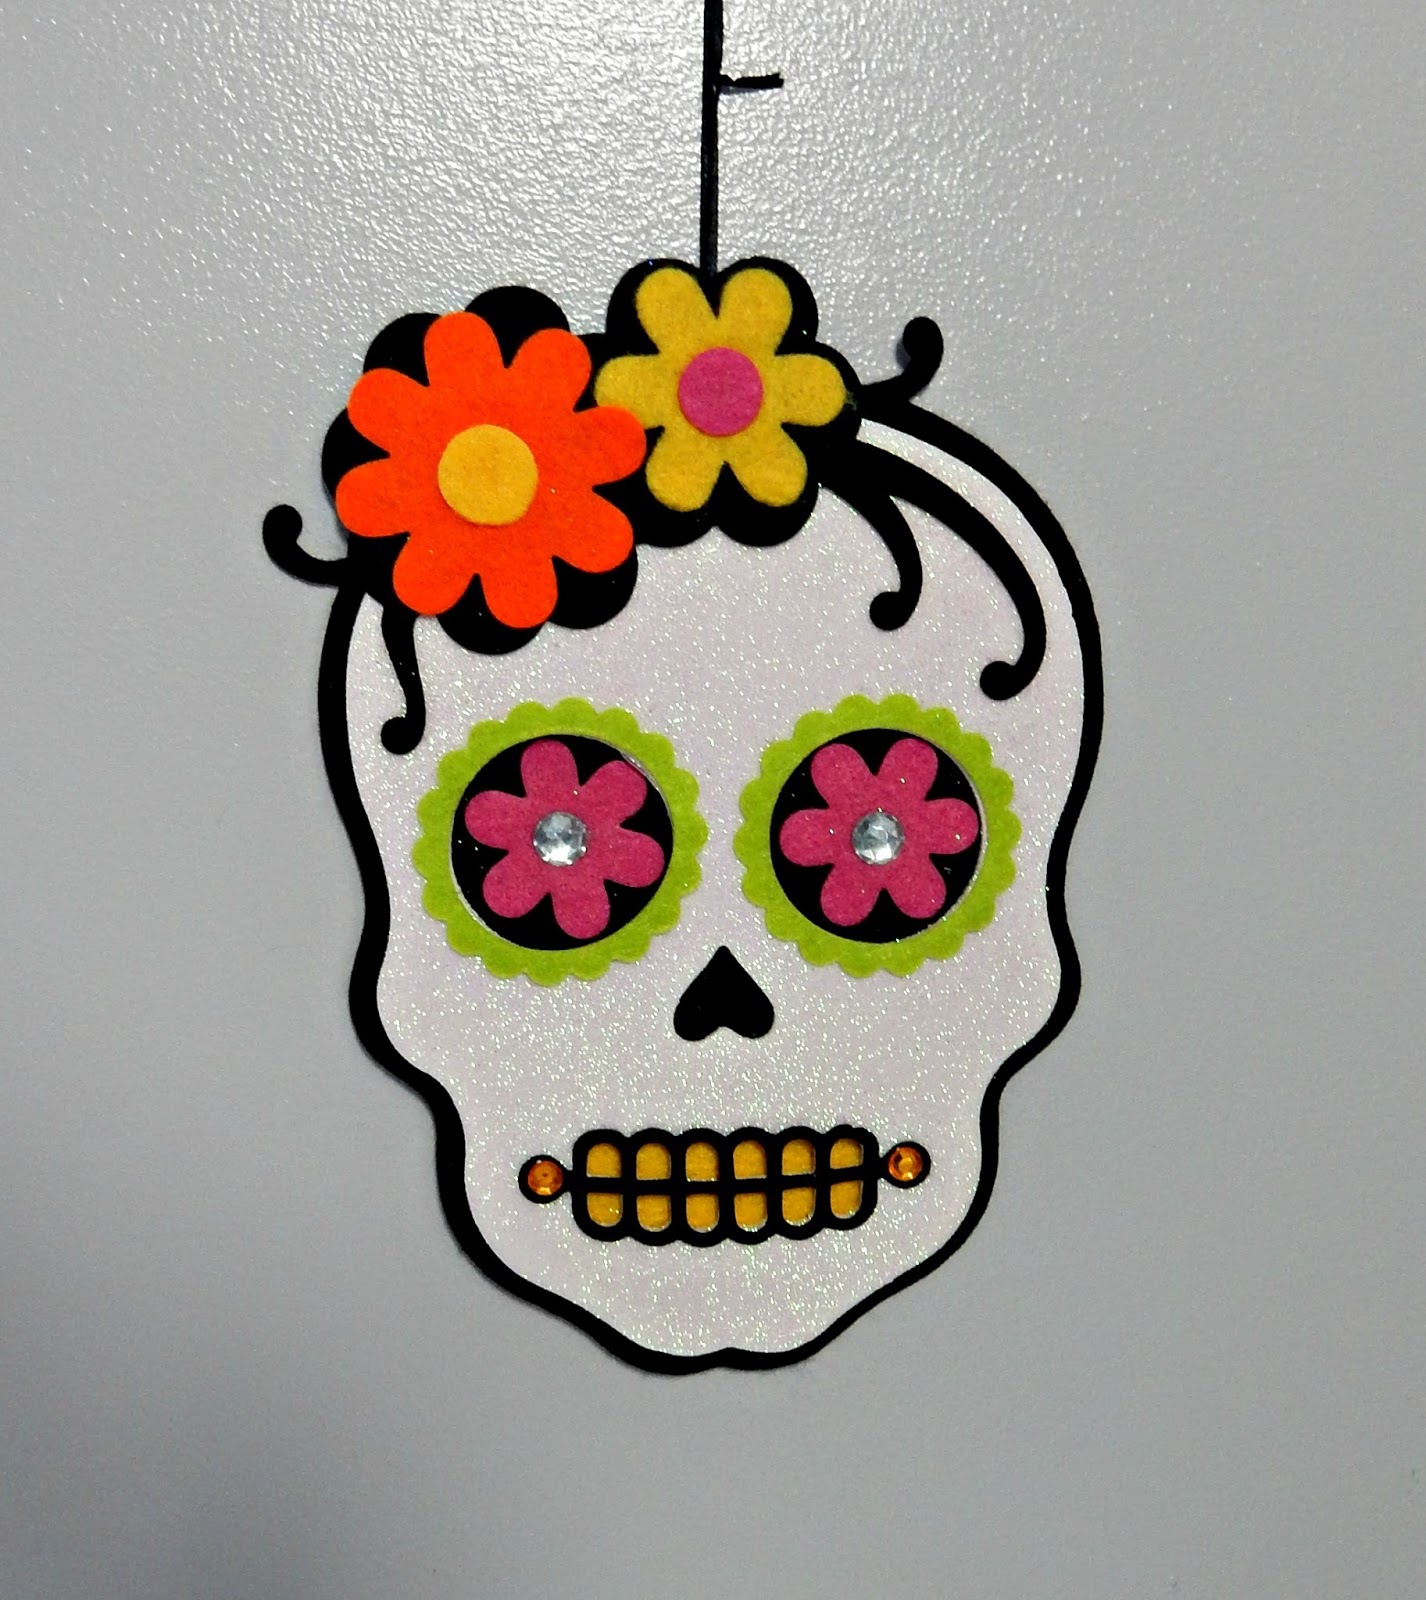
I have this decoration stuck to the wall, I love this one its so bright and colourful but it also has a glittery face and you all know how much I love my glitter. This one was from Asda.


This was actually a table cloth but my table is black so you wouldn't have been able to see it very well so I stuck it to the wall and put some bright purple fairy lights around it which looks great when the lights are off! The table cloth is from poundland and the lights are from Asda.


I think this one has to be my favourite its a sugar skull candle and its so big and heavy haha, I'm never going to burn this its too pretty i think I'm going to keep it out all year round just because I think it is so pretty, this one is from Asda.


This one I got from poundland and I bought this one just because I thought it was pretty, its shaped like an old vintage mirror and is covered in black glitter. As you can see none of my decorations are very scary haha.


This one is also from poundland its plastic and as you can see has a skull on it, the eye is supposed to light up red but mine for some reason doesn't work unless you push on the battery but hey you get what you pay for.


I have two of these fake candles which have black glitter on them and the flame kind of flickers like a real candle would. They are from Asda. These little photo things I think are so cool they are a hologram so from one angle it just looks like a normal Victorian photo but in another angle they look all creepy and zombified. These are from poundland.


Here is the other one I have you can kind of see the zombie faces more in this photo.


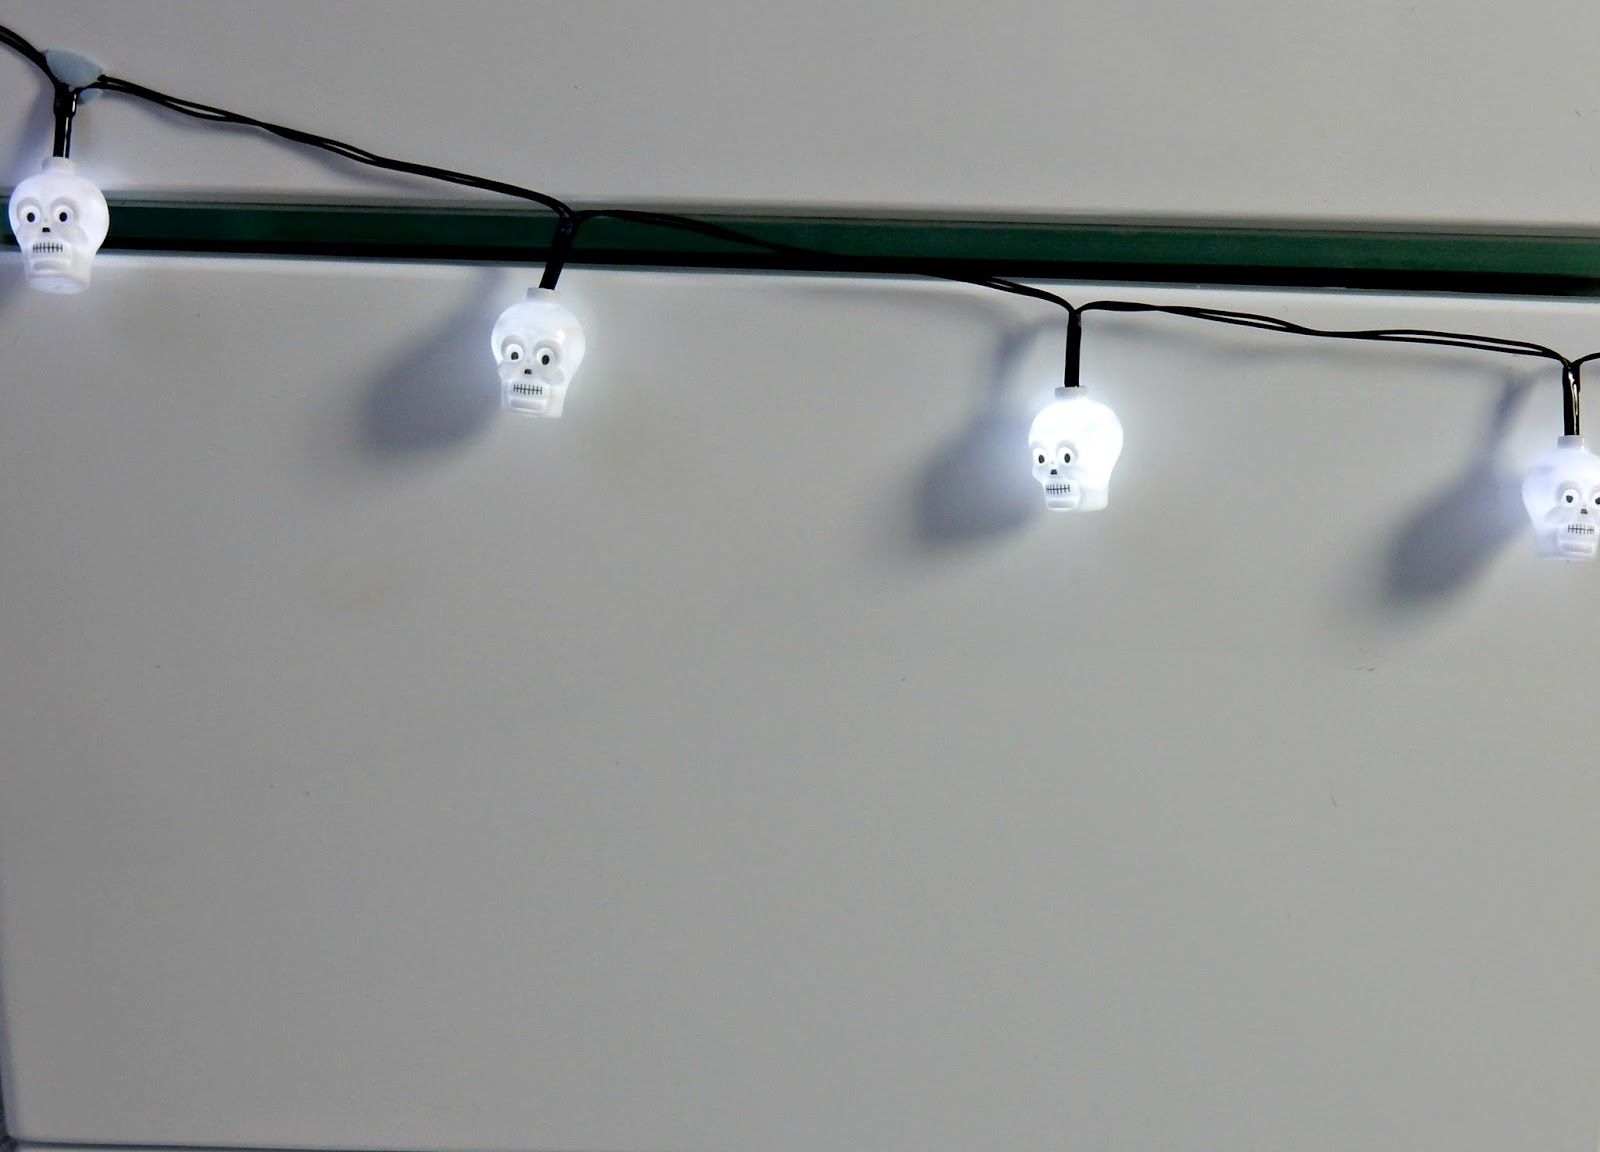
These are some little battery skull lights that I got from poundland they are actually quite bright when the lights are off. I have just blue tacked these to my TV stand.


This is a cute little banner that says 'Happy Halloween' with some pretty patterns on it, it also has a cracked china effect printed on to it which make it look old and creepy. I have this stuck to my wall too and this is also from poundland.


I bought seven of these lanterns all from poundland, I then attached them all to  a long piece of string and then attached them to the celling so that they all hang in a straight line, i don't know if you can see from the picture but these have little lights in them that are battery operated so when  the room is dark it kind of projects skulls around the room which looks really cool.


I think this banner may also be one of my favourites, its from Wilko and they are a very thin paper sugar skull with shapes cut out of them and I love these a lot they look so delicate and pretty.


I did this painting a while back but I didn't like it but my mum loved it so she hung it on the wall so to try and make it look a bit better lol I hung this really pretty sugar skull banner over the top of it which I believe is from Asda.

This pretty little spooky decoration is from Asda and to be totally honest I bought this because I really liked the bright colours of the glitter haha. I just have this sitting on my windowsill.


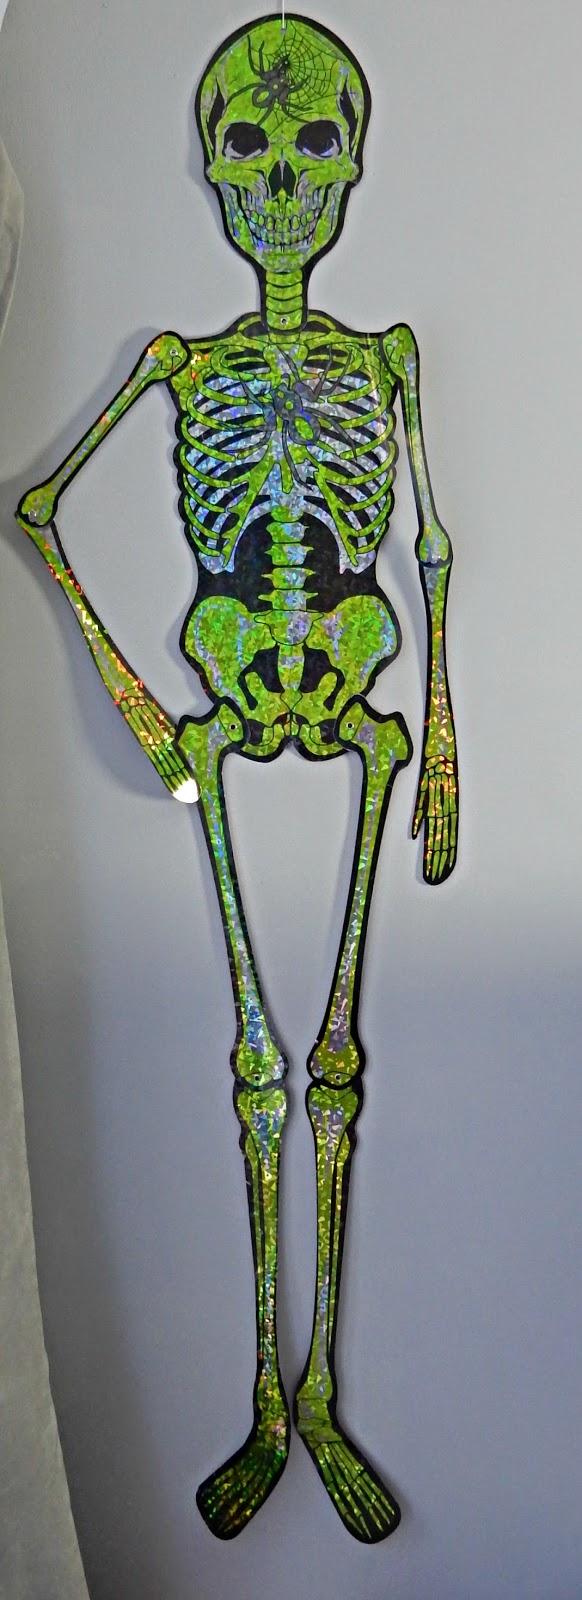
This is a holographic skeleton from poundland, although this isn't supposed to look pretty, when its dark and theres a little bit of light shining onto it it looks really shiny and glitter although there is no glitter on this lol there are flecks of green,orange and silver and I really like it.

So you have now reached the end of this blog post feel free to comment below and let me know which decoration is your favourite and please feel free to share it would be much appreciated. :) <3